Taken en route to Leyte from Ulithi.
June 8, 1945
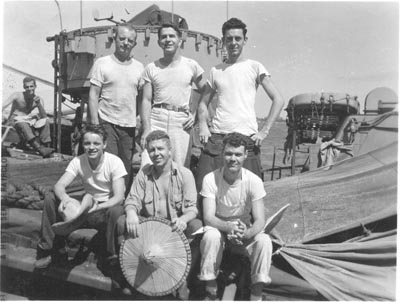
(front) Schofield, Bromberger, Matthews.
(back) Thompson, Barnart, Dodge.
Back Photographs provided by Ken Culver - Page 2
|
(Click on Photo to see an
enlarged version. |
|
|
|
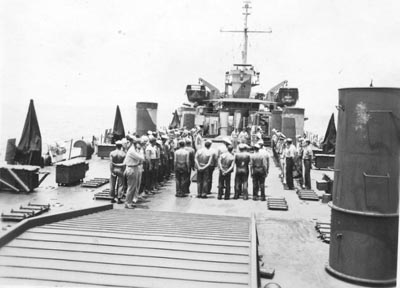
| "Quarters" aboard the U.S.S. LST
793. Taken en route to Leyte from Ulithi. June 8, 1945 |
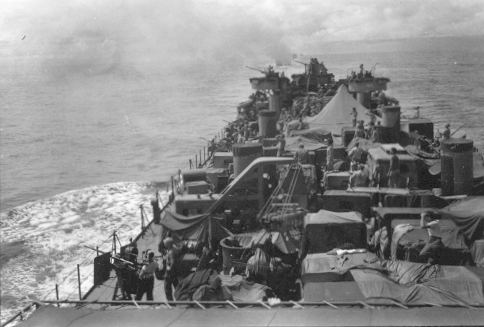
Anti-Aircraft Practice. Notice the twin 40 on the bow. Guns were firing when this was taken. |
|
|
|
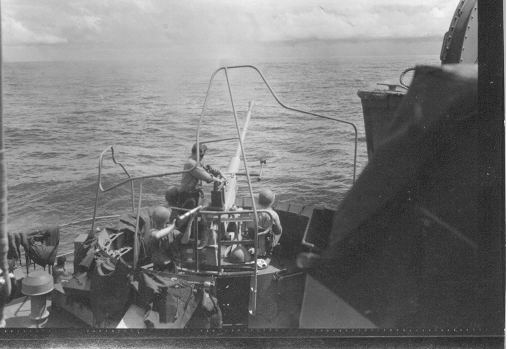
| Single 40 firing sleeve drawn by plane. | Cooks: (front) Schofield, Bromberger, Matthews. (back) Thompson, Barnart, Dodge. |